The 1800s was when scientists first discovered the photovoltaic effect: that electricity is created when certain materials are exposed to sunlight; however, it wasn’t until the 1950s that it was discovered that silicon could create a much more efficient solar panel. This led to the creation of the first solar cells that could harness the sun’s energy and convert it into electricity. Today, solar panels can be used to power all sorts of things, including your RV.
Solar panel systems are valuable for campers who want to boondock and be able to go places without electrical hookups.
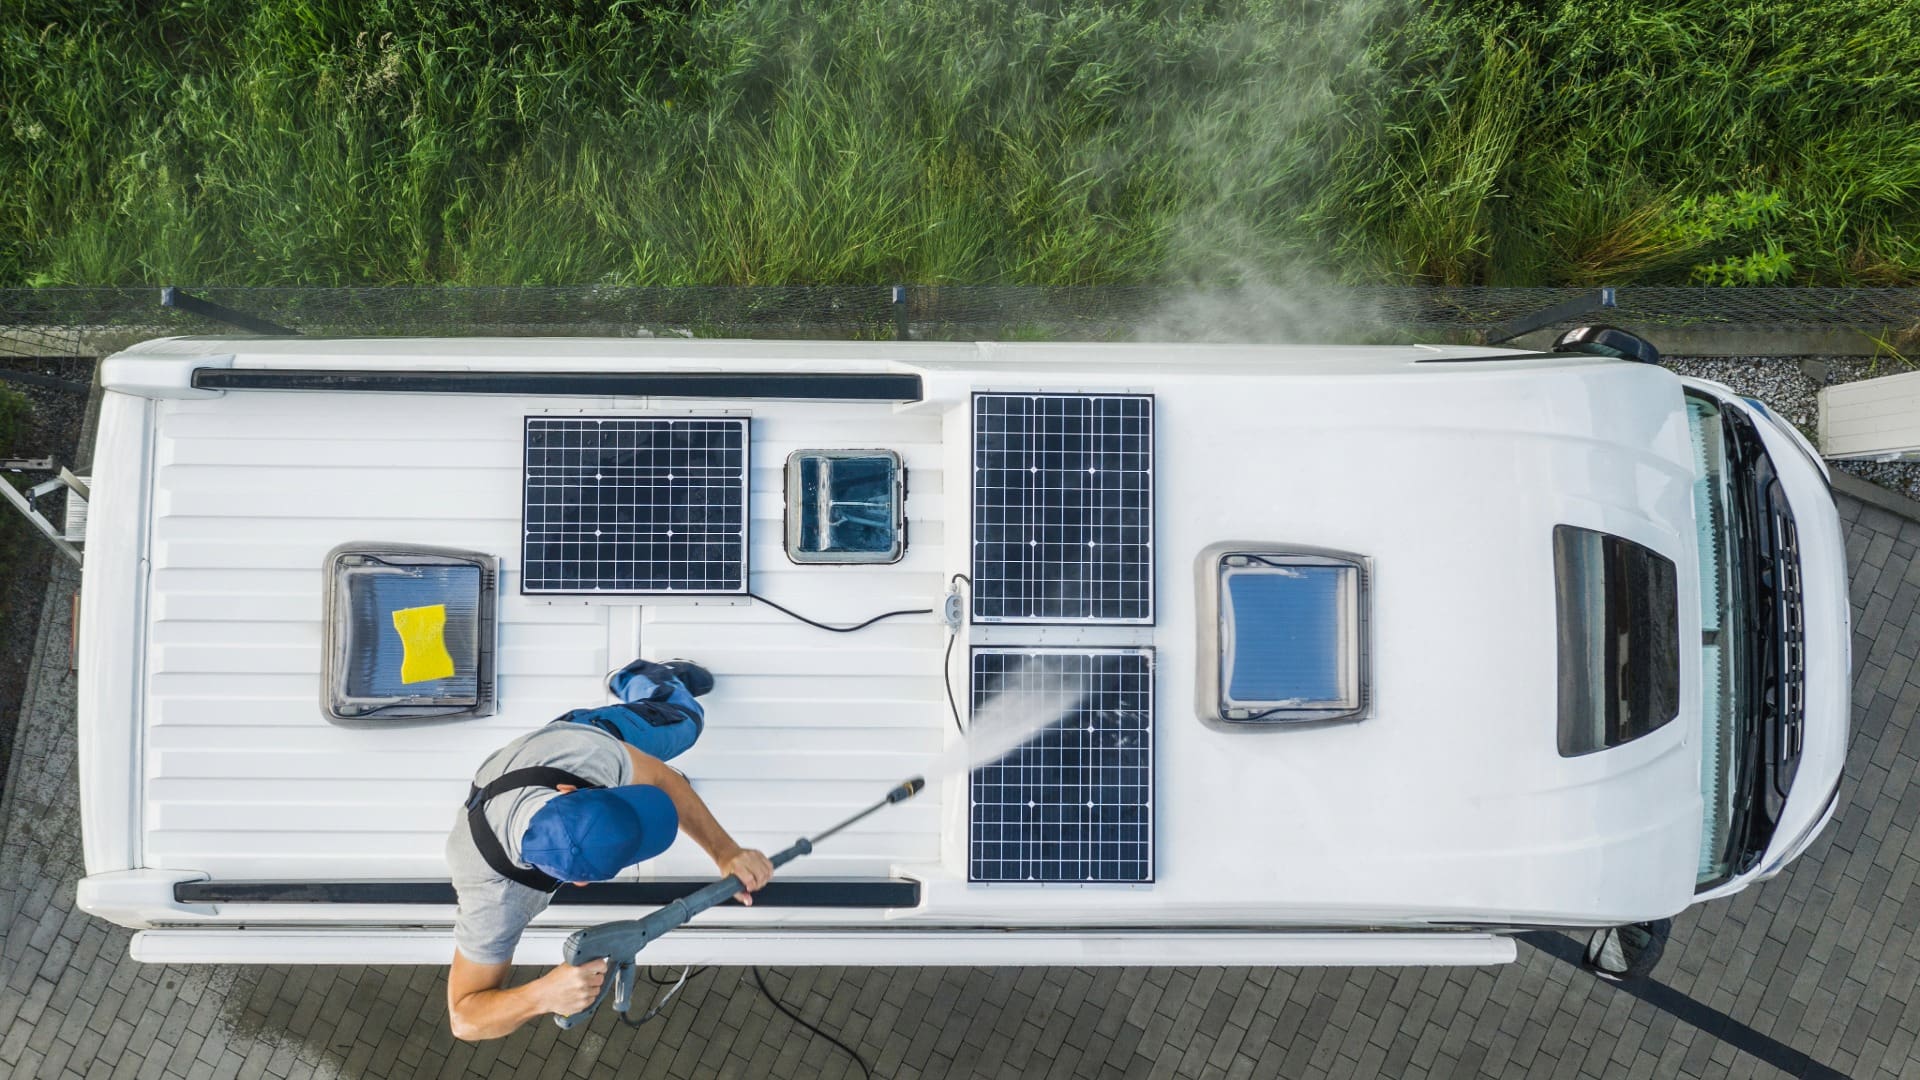
How are solar panels installed on RVs?
Solar panels are traditionally placed on top of RV roofs. However, you can also opt to get portable ones that rest on the ground next to your RV and require being set up and taken down each time you go to a new location.
If you have a few solar panels on the roof of your RV, sunlight hits the solar panels, and the cells absorb the energy. Circuits turn this energy into electrical current. Solar panels typically degrade by only about 1% per year, and newer models can last for 25 years.
How much power do RV appliances use?
Your RV’s appliances use different amounts of electricity:
– A lightbulb, at 60 watts, used for 6 hours a day, consumes 360 watt-hours of power.
– A TV, at 200 watts, used for 4 hours a day, consumes 800 watt-hours of power.
– A microwave, at 800 watts, used for 0.5 hours a day, consumes 400 watt-hours of power.
– A mini-fridge, at 200 watts, used for 24 hours a day, consumes 4,800 watt-hours of power.
What if my solar panels stop working?
What should you do if the solar panels on your RV stop working or have a much lower voltage than needed? Fortunately, it is possible to service RV solar panels and many repairs are simple. Repairs can be done by the company that initially installed your solar panels, a solar panel installation or repair company local to the area you are currently in, or a mobile solar panel repair company. Here are some common problems and their solutions:
Obvious Blockages
Most solar panels are wired in series. If part of a cell is blocked, that blockage affects the output of the whole panel. So first be sure there are no obstructions.
Faulty Solar Meter: Faulty solar meters are the primary cause of photovoltaic system “malfunctions”. The panels may be working fine, but the meter can’t read the energy production correctly.
Faulty Solar Panel
Your panel may be having trouble due to a physical defect:
- Hot spots – The hot spot effect happens when the solar panel is covered in shade and current can’t flow around weak cells. Eventually, the current concentrates in just a few cells. Hot spots damage your solar module and cause your panel to lose efficiency. They consume energy instead of generating it. Hot spots are invisible to the naked eye, so getting thermographic images of the solar panel is the best way to see these. While prevention of hot spots is easy, repairing them is not.
- Weird patterns – These are caused by water entering your solar panel. Solar panels are waterproof on the surface, which is why they can (and should be) be left outside. Usually, solar panels are completely sealed, which will keep water from getting inside them. However, if there were manufacturing defects and water does get inside, you’ll need to contact the company who sold you the panel and see if you can get a replacement or your money back.
- Cracks – Glass covers the surface of the solar panel and is the primary protector against the elements. Most of the time, solar panels are extremely durable because of this. But it is possible for it to crack or break, even though it may be hard to see cracks with the naked eye. A broken solar panel can still produce high voltage. Unfortunately, it is now more susceptible to damage from the elements and may suddenly stop working when exposed. A partial break can be waterproofed to prevent further damage.
- Broken Diode – If a diode is broken, current flow will reverse at night, which drains your battery. Cheaper solar panels may come with cheaper diodes as well, so you will need to replace them with a more durable brand. First, wiggle them out of their solder, then solder the new ones in place. Make sure you line up negative with positive and positive with negative so the current flows correctly.
Faulty Battery
A battery is an energy storage solution. It stores electricity generated during the day so it can be used at night. There are two types of battery systems: hybrid systems and off-grid systems. You can get lead-acid or lithium-ion batteries. Unfortunately, no matter which batteries you have, you simply can’t charge ones that are broken.
Look for signs of corrosion or bulging. If you see those, get new batteries. Fortunately, this is one of the easier things to repair on your own. Just get a new battery. The biggest obstacle is cost, but the solar installation company may cover the replacement of batteries under your warranty.
Wrong Setup
Remember, don’t connect your solar panel directly to the battery. Always use a solar controller.
Faulty Solar Charge Controller: On that note, your solar charge controller may be broken. If needed, get a new controller and see if it fixes the issue.
Electrical Issues
You can test output with a multimeter. On a sunny day, get two measurements. First, get the open-circuit voltage. This is the voltage that the solar panel is putting out without any load.
Next, get your current short circuit measurement.
If you’re getting low voltage or current, you probably need to mechanically repair your RV solar panel.
The most common issue is a loose connector. The internal contact of the MC4 connectors is either crimped or soldered to the wire. What sometimes happens is that the terminal isn’t fully inserted into the MC4 connector, meaning when they’re plugged together, they don’t make full contact. To make the terminal fully seated, unscrew and loosen the waterproofing gland. If the MC4 pops out, it probably wasn’t fully seated, so push it back in tight. Do this for both of the terminals.
Be sure to check any other connections in your system as well. If your MC4s are fully seated, and you’re still not getting full voltage and current, remove the junction box on the back of the panel. There may be a soldered connection, crimped connection, or a clamping connection with a screw. Make sure the crimped connection is fully crimped, or the clamping connection is fully screwed.
What are some common RV solar “don’ts”?
- Don’t guess how much electricity you will need. This should be calculated to get a fairly accurate range. If you are having trouble determining this, reach out to a professional for assistance.
- Don’t have your solar panels installed flat on the roof of your RV. The panels need air circulation behind them to perform at their best.
- Don’t forget to account for the true performance of a solar panel. You can count on about 70% of the rated output during peak exposure hours, which is roughly five hours per day. To make up for this, get a panel that has 30% more output than you think you need.
- Don’t invest in the cheapest RV solar panels you can find. They should last 20 years and be robust enough so that vibrations are minimal at the cell level. Cheaper varieties may be produced using methods that have cut corners on the glass, backing, or frame. This can severely decrease the performance or lifespan.
- Don’t get budget RV solar controllers. A sign of a good model is heavy and doesn’t have a fan (those fail, causing the controller to overheat and die). You’ll want one with a heat sink instead. A good controller may cost two to three times the price of the most inexpensive ones on the market. Be sure to do your research or consult with a professional to ensure you are choosing a good quality controller that will last.
- Don’t get undersized wires. Make sure the minimum wire size used for your solar panel installation is 10 gauge. Thicker wires may be required at some locations in your solar setup. Also, don’t use indoor wires outside the RV, as they will degrade rapidly when exposed to the elements.
- Don’t weigh down your solar system. A contributing factor to the weight is lead-acid batteries. If it’s the same size and shape as a lead-acid battery, a lithium battery will hold twice the energy at less than half the weight.
- Don’t forget about a backup power source. You’ll want to be sure to have a backup system in case you’re for a time unable to get power from the sun. A generator can serve as a good backup.
How do I find a professional to help me repair my solar panels?
If you are having difficulty repairing your RV solar panel yourself or are worried about causing further damage, consult with an expert. Just like us at Avalon RV, many RV solar panel installation companies also consult on and conduct repairs. For problems that occur when you’re out on the road, check out the growing number of companies offering Mobile RV Solar Repair to find one that is willing to travel to you.
One of the best ways to find a professional is to search on Google, which is the most popular and thorough search engine. You may want to join Facebook groups about RV solar systems and see pictures posted by solar installation professionals.
What is a good company for RV solar panel installation and repair?
Many companies provide RV solar panel installation services and repair. At Avalon, we design complete solar systems for our clients. We provide services to both vintage RVs and newer models. We also have a master-certified electrician available to walk the customer through system installation.
Remember, no matter who you choose, be sure to get a company that seems knowledgeable and that you like and trust. Look at their website to see their services. Call them to speak to someone directly and ask any questions you may have. Remember that you can ask family members, friends, and others who have had solar installations for their input as well.